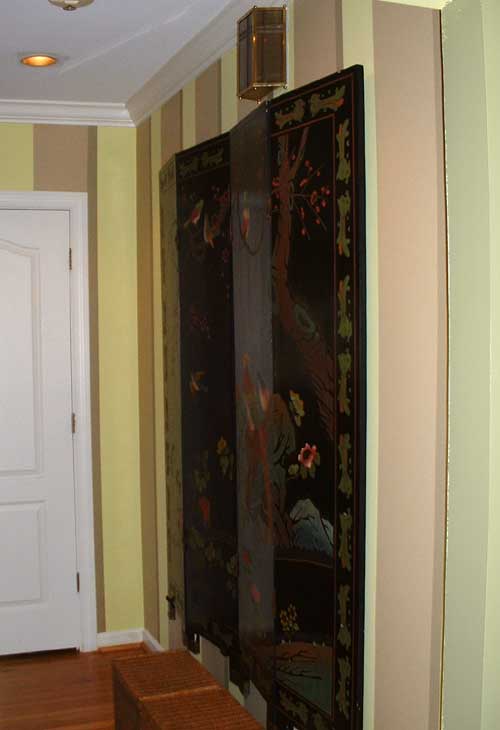
There is nothing on the Internet about hanging folding screens on the wall but it was finally time to do it. Gordon drew some brackets. I asked where to get them. He said, "I don't know." I took the drawing to Intown Ace Hardware's helpful hardware folks and made a plan.
The screen has four panels. The hinges swing in both directions so you can show either side. It's 3/4" thick.

Special thanks to the hanging crew,
Erin Kinzel and Katherine Kearns.
Here is what I bought:
- 2 1x4" ledger boards cut slightly less the width of the screen as I would hang it so it wouldn't show.
- Scrap 2x2" for making shims for the top ledger board to control the fold angle.
- A strip of metal from which I could cut and bend the bottom brackets.
- Screws for attaching the brackets to the ledger board.
- Screws for attaching the ledger boards to the wall to through the studs.
- Screw eyes for wiring the top ledger board to the hinges.
- Black 11" cable ties to connect the screw eyes to the hinges.
- Spray can of metal/wood primer.
- Spray can of metal /wood paint.
- Some dark colored stuff you can stick on the bottom of furniture legs to keep them from scratching the floor. I covered the brackets, the shims, and everything else that might scratch the screen.
Tools:
- Jigsaw with wood and metal cutting blades
- Vise, hammer, screwdrivers.
- Electric drill for pilot holes and screw driving.
- Tape measure.
- Level.
- Stud finder.
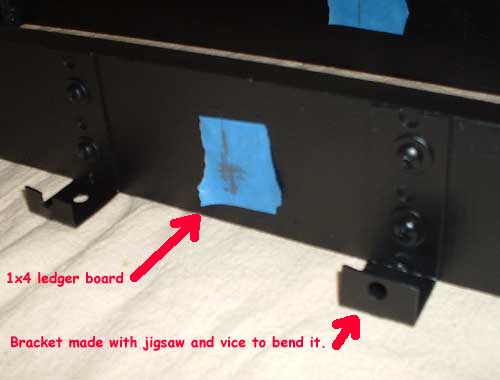
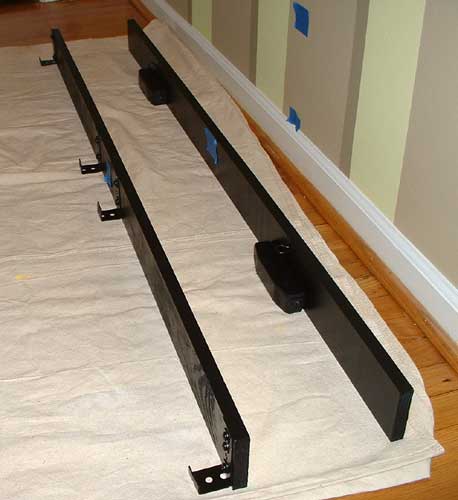
Here are the brackets attached to the bottom ledger board.
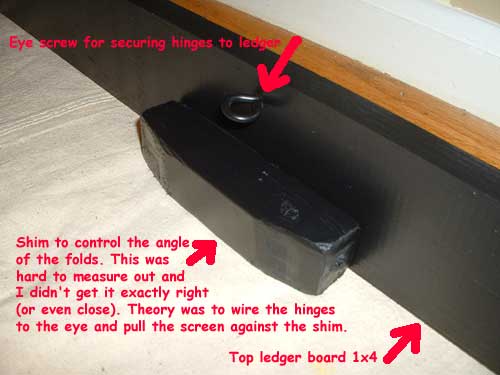
Here is the shim and screw eye on the top ledger board. This is the point where the screen is furthest away from the wall.
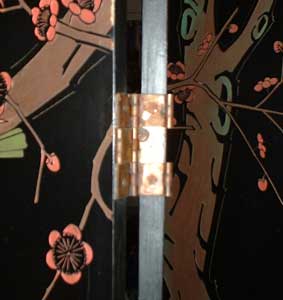
Somehow I had to attach the hinges to the eye.
Ledger boards ready for the wall.
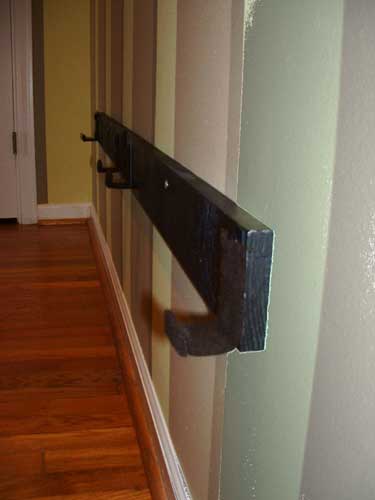
Bottom ledger hung. The width depth of the bracket notch has to accommodate the angled screen. The screen is 3/4" thick, the notch is 1 1/2" deep. It was a guess.
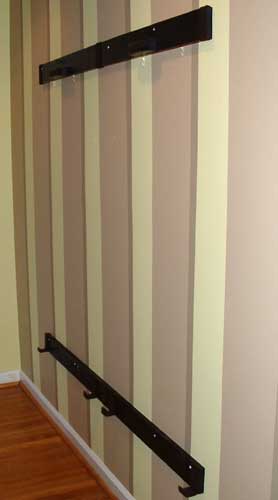
Bottom and top ledger boards are ready for the screen.
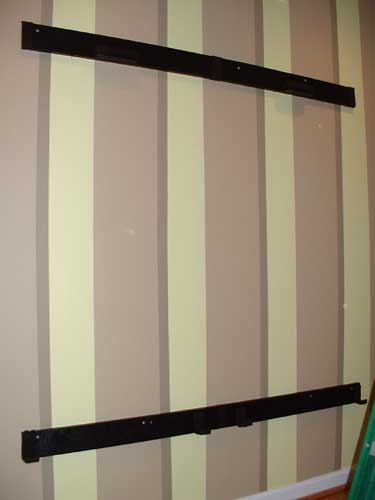
I used the cable ties to secure the top hinges to the top ledger board.
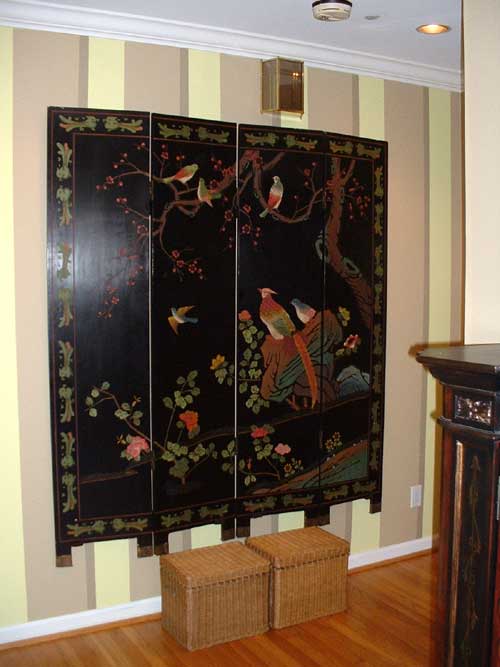
All done!
